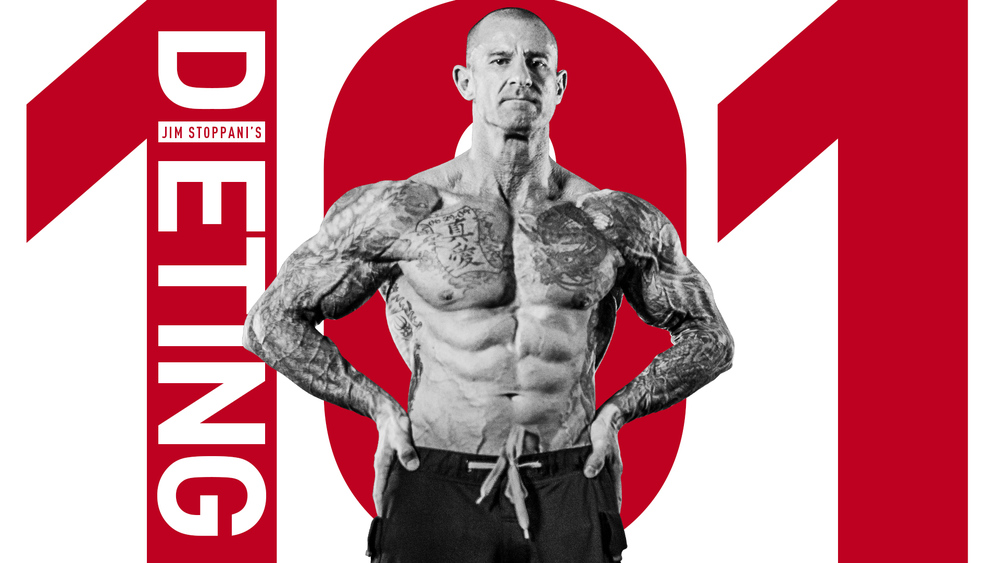
At-Home Arm Workout
Build bigger biceps and triceps without a single dumbbell or barbell with this do-anywhere workout.

Build bigger biceps and triceps without a single dumbbell or barbell with this do-anywhere workout.

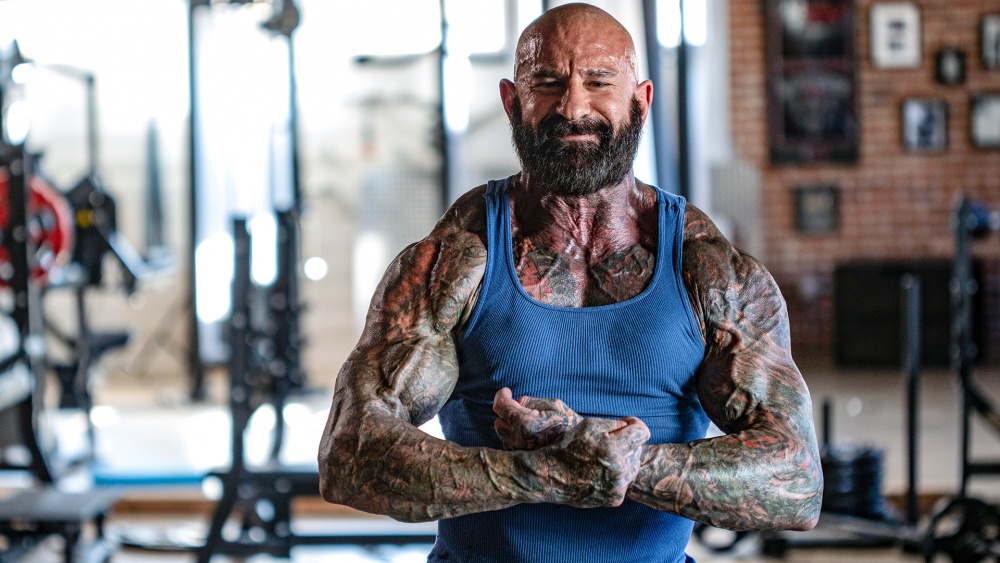
Do you miss the arm pump you get at the gym? That feeling when the biceps and triceps are so full of blood you almost can’t bend your elbows, veins popping all down your forearms?
Well, get ready for that same exact gym pump in your house or apartment. All you need is a mad scientist – me – twisting the workout knobs to deliver you a home-based plan that will put the pump, and the muscle mass, back in your arms!
In the below routine, I pull out all my intensity tricks to give you a massive pump and a hell of a workout. We’ll stagger between triceps work and biceps work, but truth be told, on the manual resistance sets both biceps and triceps are working. And many exercises (like push-ups, dips, and body-weight table curls) involve other body parts.
Remember to do a general warm-up first, consisting of 10-15 minutes of jogging, jumping rope, or other cardio activity. Since there will be a lot of movements that focus around the shoulder joint, your specific dynamic warm-up will consist of the same arm circles and arm swings done in the chest and shoulder workouts.
For arms, there won’t be an essential need to do a power move. The triceps assist on the upper body pushing power moves in the chest and shoulder workouts, while the biceps assist on the upper body pulling power moves in the back workout. That said, you’ll do the dynamic warm-up and then go straight for the throat with exhaustion techniques like extended sets.
The arm workout starts with multiple variations of a bodyweight triceps exercise – the close-grip push-up – performed as an extended set (which I call a “ladder”), where you start with the most difficult version of the move and progress to the next easier version every time you reach failure.
In the case of close-grip push-ups, start with your hands on the floor, which is the standard version of the exercise. If this is too difficult, you can do it with your knees on the floor; if even that’s too hard, perform 3-5 negative reps instead of regular reps. If standard close-grip push-ups are too easy (meaning, you can rep out on the exercise seemingly forever), feel free to wear a backpack loaded with books to add resistance.
Once you reach failure, elevate your hands on different surfaces to reduce your body weight and make the exercise easier. Shoot for 3-5 progressions between the floor and just above hip height (kitchen or bathroom counter is ideal). Midpoints between can be (in order of shortest to tallest) a stool, coffee table, couch seat, chair, couch or chair arm, and dining room table.
Here’s a full rundown of how to do close-grip push-ups, and then how to extend the set as a ladder:
4-Week Progression*: For progressive overload, either stick with your bodyweight all four weeks; with the goal of completing more reps per set each week; or, wear a loaded backpack in Weeks 2-4, increasing the resistance each week.
*Refer to my 4-Week At-Home Workout article for the full-body training split and all four weeks of workouts for all muscle groups.
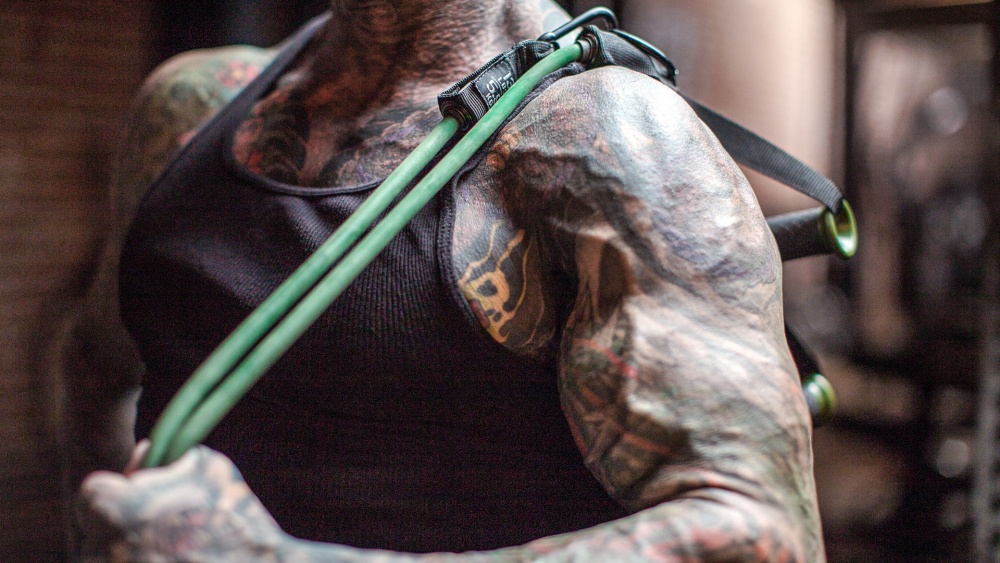
After focusing on the triceps, not to mention the core and a great calorie burn, it’s time to exhaust the biceps with a manual resistance exercise. The triceps will also get some work here; refer to the chest article for an explanation of manual resistance training and how it trains both opposing muscle groups on every rep.
Because most of us have strong biceps and it’s difficult to train the pulling muscles at home, we need to exhaust the biceps early in the workout to make the ensuing exercises harder to perform. We’ll do this through three different curling variations using manual resistance, with one caveat: If you notice the biceps table curl is too difficult to do at the end of the workout, do it as the first biceps exercise in the workout and put the manual resistance moves last to finish off the arms.
The first manual resistance curl will be done with your working arm straight by your side (one-arm biceps curl).
Then, you’ll move to the arm curling across the body (one-arm cross-body curl), which will emphasize the biceps long head because you’re internally rotating the arm.
Lastly, you’ll do manual curls with the working arm extended straight out from the chest and curling your hand toward your forehead (mimicking a one-arm preacher curl, only with no preacher bench). This tends to hit more of the biceps short head.
Do 5-10 reps per arm at each of the three positions, with each rep consisting of a 5-second positive (concentric) and a 5-second negative (eccentric). For example, do 5 reps of biceps curls with the right arm, then 5 reps with the left arm; 5 reps of cross-body curls with the right, then left; and 5 reps of “preacher” curls on the right, then left. Switch from arm to arm and position to position without any rest. One set per position per arm and you’re done.
4-Week Progression*: Do 5 reps in each position per arm in Week 1; increase to 6 reps in Week 2; 8 reps in Week 3; and 10 reps in Week 4.
Here’s a video of me demonstrating the three manual resistance biceps curls:
Now that we’ve smoked biceps, and even toasted triceps some more too, it’s time to focus more on the triceps. Tabata-style bench dips are your challenge.
Use a chair, the arm of the chair of a couch, or whatever have you, to set up in a bench dip position – back facing the chair, palms on the edge of it, arms behind you, feet flat on the floor, and knees bent about 90 degrees. If you want to make the exercise more difficult, put your feet on another platform of about the same height as the one your hands are on. But remember, these aren’t regular sets of dips; these are Tabatas. Four minutes of standard bench dips will be plenty challenging for most people.
No need to count reps here, but you will count time and rest for each set – 20 seconds of reps, alternated with 10 seconds of rest, for 8 sets/rounds. Don’t worry if you can’t complete all 20 seconds of all sets. Just go for as long as you can, for as many sets as you can.
4-Week Progression*: Try to complete more time on more sets of the Tabatas each week, with the goal of competing all 8 sets of 20 seconds by the end of Week 4. Or, if you find that bodyweight bench dips aren’t much of a challenge, try increasing the difficulty each week by adding weight to your lap and/or placing your feet up on a platform.
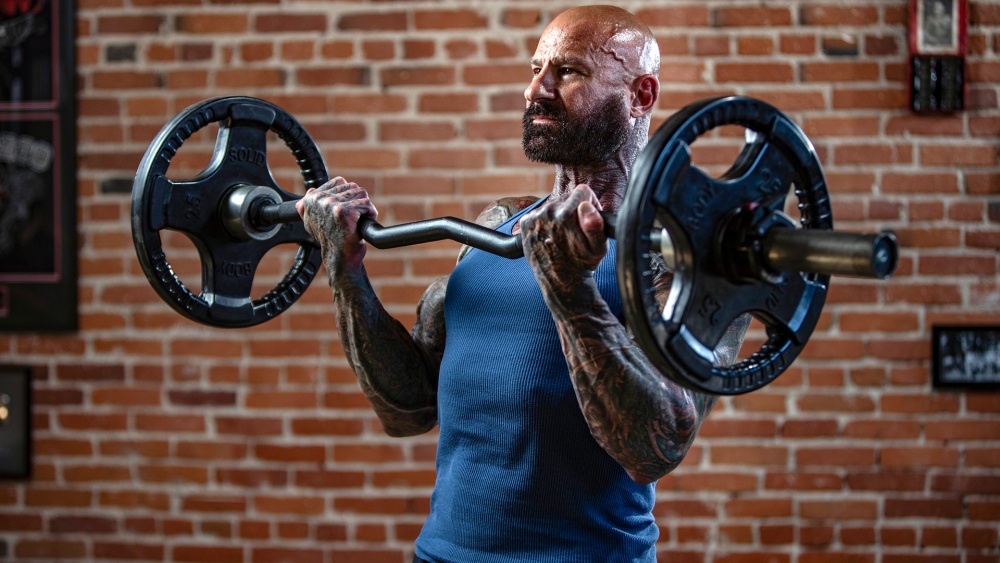
Now that your triceps need a rest, it’s time to place some more focus on the bi’s. This extended set has you starting with concentration curls, then moving to standing curls. For weight, you’ll use a loaded backpack, grocery bag, or other household implement (assuming you don’t have any dumbbells at home).
To do the extended set, do both exercises for one arm before moving to the other arm. For example, do concentration curls for the right arm until you’re close to muscle failure, then immediately stand up and perform curls on the right arm until you reach failure again. Then, immediately switch to the left arm and repeat the same two curling variations. Take no rest between arms or exercises until all three extended sets are complete for both arms.
4-Week Progression*: Either keep the weight the same on both exercises for all weeks and increase reps each week (to failure), or increase the weight used each week by around 5 pounds.
Now back to triceps, you’ll finish with an extended set that focuses on the triceps long head from both of its ends. Out of the three triceps heads on the back of the arm (long head, lateral head, medial head), only the triceps long head crosses both the elbow and shoulder joints. Therefore, the long head not only works to extend the arm at the elbow, but it extends the arm at the shoulder to bring the upper arm behind the body.
The triceps kickback is an exercise that contracts the triceps long head from its upper end. As you extend the elbow in a kickback, you tend to lift the upper arm a bit, bringing the elbow higher than your back. This is the triceps long head contracting at its top (proximal) end, where it originates on the scapula, while also contracting at its far (distal) end to assist the other two triceps heads in extending the elbow. This maximizes the number of muscle fibers used by the triceps.
Another method to focus on the triceps long head is to stretch it at its origin. That’s why so many bodybuilders do overhead triceps extensions. When the arm is overhead, as in an overhead extension, the stretch that’s placed on the long head makes it contract with more force.
This isn’t due to more muscle fibers being used, like in the kickback, but to the elastic component of the muscle. With the muscle stretched, it has more stored energy, just like an elastic band. When you contract it to lift the weight, the muscle fibers have more strength because they have more stored energy in them. Thus, the long head, being the strongest of the three heads, takes on the majority of the load. That’s why you feel the long head fatigued after doing overhead extensions properly.
Using the type of household implement as you did with the biceps extended set, the triceps long head extended set starts with triceps kickbacks to use more long head muscle fibers. Once you hit failure there, you’ll move to overhead extensions with the same weight. Stretching the long head with the overhead extension takes advantage of the stretch reflex in the muscle, which is why you’re able to continue doing reps for the triceps with the same weight.
As with the biceps extended set, do both exercises for one arm before moving to the next arm. Move back and forth from arm to arm with no rest until all three extended sets for both arms are complete.
4-Week Progression*: As with the biceps extended set, either keep the weight the same on both exercises each week and increase reps, or increase the weight used each week by about 5 pounds.
The arm workout will end with a biceps punisher! If you’ve come to know my biceps ladder, you know how painful this can be. The problem with the original biceps ladder is that you need a variety of heights to do the bodyweight curls from. This will be next to impossible to manage at home.
So, we’ll do a different style of extended set, which is all the biceps ladder really is. Instead of a bar to curl from, you’ll use the end of a dining room table (or other high table).
Here’s how to do the table curl biceps ladder:
Note: If you can’t do any table curls, move them to the first biceps exercise in the workout and do the manual resistance last. Even if you can’t lift your body weight up using your biceps, do 3-5 negative reps by cheating yourself into the top position with a little help from your legs and lats. Then, work to use just the biceps to resist your weight down as slowly as possible.
4-Week Progression*: Each week, try to increase the number of reps you do for all three table curl grip variations. Or, increase the weight each week by setting a backpack or other weighted object on your chest and shoot for the same number of reps.
Here’s a video of me demonstrating the table curl:
Dynamic Warm-Up: 10 Small Arm Circles Forward + 10 Small Arm Circles Backward + 10 Big Arm Circles Forward + 10 Big Arm Circles Backward + 10 Arm Swings
| Exercise | Sets | Reps | Notes | |||
|---|---|---|---|---|---|---|
| Close-Grip Push-Up Ladder | 1 | To failure | See copy above for exercise how-to. | |||
| Manual Resistance One-Arm Biceps Curl | 1 | 5 | 5-second positive, 5-second negative per rep; go to the next move with no rest. | 3 | ||
| Manual Resistance One-Arm Cross-Body Curl | 1 | 5 | 5-second positive, 5-second negative per rep; go to the next move with no rest. | |||
| Manual Resistance One-Arm Preacher Curl | 1 | 5 | 5-second positive, 5-second negative per rep. | |||
| Bench Dip | 8 | 20 sec. | Tabatas: Rest 10 seconds between sets. | |||
| Extended Set: | ||||||
| Concentration Curl + | 3 | To failure | Use a loaded backpack, grocery bag, or other household item for resistance. | |||
| Standing Curl | 3 | To failure | Use a loaded backpack, grocery bag, or other household item for resistance. | |||
| Extended Set: | ||||||
| Triceps Kickback + | 3 | To failure | Use a loaded backpack, grocery bag, or other household item for resistance. | |||
| Overhead Triceps Extension | 3 | To failure | Use a loaded backpack, grocery bag, or other household item for resistance. | |||
| Table Curl Ladder | 3 | To failure | Three variations: outside shoulder-width, inside shoulder-width, shoulder-width | |||
Related Articles

Having well defined shoulders isnt easy...Having Boulder Sized Shoulders is difficult.

Keep your Triceps in TOP condition with this routine

More reps burns more calories? Maybe. The Doc Answers this and much More!!

Whats the Benefit of A-GPC? Find out exactly what it is.
Foundations
Featured Meal Plans
Muscle Hypertrophy: Build Muscle Fast
Rethink Your Rep Range
The Science of Strength Bands
Training
Nutrition
Supplementation
Health